
4 Reasons Your Newly Installed Faucet Keeps Dripping
Home /
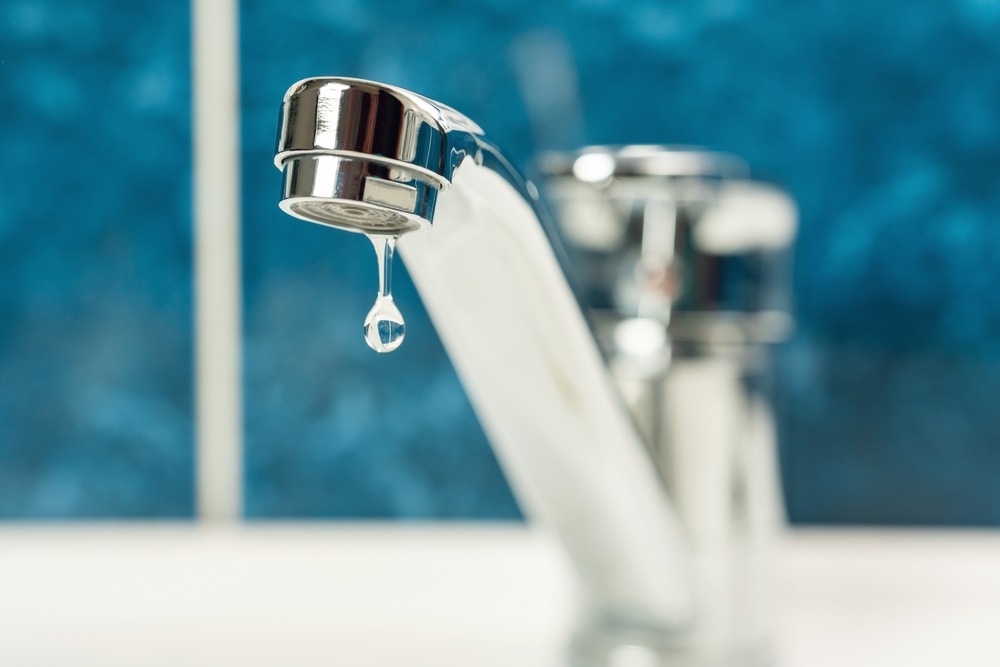
A dripping faucet is frustrating under any circumstances, but it feels especially maddening when the fixture is brand new. You spent time and money upgrading your hardware, expecting a clean turn-off and a dry sink, only to find a steady leak shortly after installation.
Before assuming the entire faucet is defective, it helps to understand how these fixtures function. Modern faucets rely on tight rubber seals, ceramic cartridges, and exact manufacturing tolerances. When a fresh installation leaks, the cause is usually a misplaced internal component, stray debris from the installation process, or household water pressure pushing the new valve beyond its limits.
If you are dealing with persistent leaks after a fresh install, working with a qualified plumber in Richmond, VA can help pinpoint the exact cause without damaging your new fixture. Below are the four most common reasons a newly installed faucet continues to drip and what you can do to resolve the issue.
1. Debris Trapped in the Valve Cartridge
During any faucet replacement, shutoff valves are turned, supply lines are disconnected, and pipes are moved around. This motion frequently knocks loose tiny bits of mineral scale, rust, or sediment that have rested inside your plumbing lines for years.
When you turn on the new faucet for the first time, the incoming water sweeps these microscopic particles directly into the valve body. Modern faucets use ceramic cartridges, compression washers, or ball valves designed to seal against smooth surfaces with zero clearance. If a piece of grit settles between the rubber seal and the ceramic disc, the valve cannot close completely. Water slowly trickles past that tiny obstruction, causing a continuous drip from the spout.
How to address it:
- Shut off the water supply under the sink.
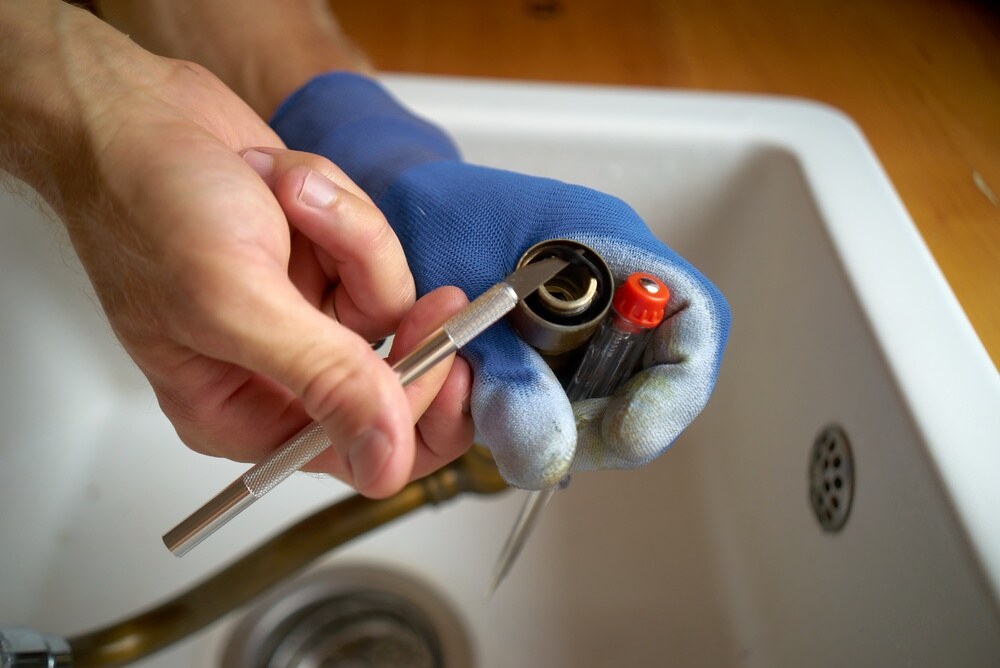
- Disassemble the faucet handle and carefully remove the internal valve cartridge.
- Rinse the cartridge thoroughly under clear running water to remove grit.
- Flush the exposed supply lines into a bucket before reinstalling the cartridge.
2. Incorrectly Installed or Damaged O-Rings and Seals
Even high-end faucets rely on small rubber O-Rings, gaskets, and seals to contain water pressure. During installation, these soft components are vulnerable to minor mistakes that lead to persistent leaks:
- Pinch damage: If an O-Ring is squeezed incorrectly while tightening the cartridge retainer nut, the rubber can tear or warp.
- Missing lubricant: Many cartridge seals require a thin coating of plumber’s silicone grease to slide into place smoothly. Without it, the rubber can bind and twist out of alignment.
- Incorrect seating: A seal that sits even half a millimeter out of its designated groove will allow water to bypass the shutoff mechanism.
A misshapen or pinched seal might hold back water when the handle is turned off gently, but under full household pressure, it quickly gives way to a slow leak.
3. High Household Water Pressure
Sometimes the fault lies entirely outside the new faucet. Residential plumbing fixtures are manufactured to operate safely within a specific water pressure range, typically between 40 and 60 pounds per square inch (PSI). If your home’s water pressure sits above 80 PSI, it puts extreme stress on every valve in the building.
Older, worn-out faucets might have tolerated high pressure through heavy brass construction or larger internal clearances, but new energy- and water-efficient fixtures use fine-tuned ceramic cartridges. Excessive pressure can force water past these delicate internal seals even when the handle is completely in the off position.
If you notice that multiple fixtures in your home leak, or if your water pipes make a thumping noise (water hammer) when a valve closes, high pressure is likely the underlying cause. A standard pressure gauge attached to an outdoor hose bib will tell you if your home needs a pressure-reducing valve adjustment or replacement.
4. Manufacturing Defects or Incorrect Assembly
While less common than debris or installation error, factory defects do happen. Modern plumbing fixtures are mass-produced, and occasionally a unit leaves the assembly line with a micro-crack in the ceramic cartridge, a misshapen valve body casting, or a missing internal washer.
Alternatively, the faucet may have been assembled incorrectly out of the box. If a stem extension is overtightened or undertightened during installation, the handle position will not align with the true shutoff point of the internal cartridge. The handle feels fully closed, but the internal valve remains slightly open.
Quick Troubleshooting Checklist
While basic checks can give you an idea of where the leak starts, they are only preliminary indicators rather than a guaranteed diagnosis. If you want to check for initial clues before opening up your sink or calling for professional plumbing services, work through these initial steps:
| Step | Action | What to Look For |
| 1. Isolate the Temperature | Turn off the hot shutoff valve under the sink, leave the cold on, and watch the drip. Swap and repeat. | Determines whether the leak is coming from the hot or cold side of the valve. |
| 2. Inspect the Aerator | Unscrew the aerator at the tip of the spout and clean out any trapped sediment. | Trapped water in a clogged aerator can mimic a slow valve leak for several minutes after shutoff. |
| 3. Check the Base | Wipe the base of the faucet dry and monitor for pooling water near the handle or counter. | A leak at the base points to a loose O-Ring or cartridge nut rather than a bad spout seal. |
Frequently Asked Questions
Can I fix a dripping new faucet without replacing it?
Yes. In most cases, clearing trapped debris from the cartridge, replacing a damaged O-Ring, or tightening a loose retaining nut completely stops the leak without needing a brand-new fixture.
Will a dripping faucet damage my home?
A steady drip from the spout usually drains harmlessly, but it wastes hundreds of gallons of water over time. If the leak originates inside the faucet body and trickles down beneath the cabinet, it can warp wood, breed mold, and damage subflooring.
Should I use thread tape on internal faucet parts?
Teflon tape (plumber’s tape) should only be used on threaded pipe connections, like supply line fittings. Never use thread tape on internal valve cartridges, seals, or compression fittings, as the extra material prevents components from seating correctly.
Professional Support for Your Home’s Plumbing
If flushing the lines and checking the seals does not stop the drip, complex water pressure issues or internal fixture defects may be at play. Professional plumbing repairs ensure that your new hardware is calibrated correctly without chancing accidental damage to your fixtures or countertops.
At USA Pipe Repair, we have provided comprehensive plumbing services to local property owners since 2001. Our licensed, bonded, and insured team handles everything from minor fixture adjustments to complete line replacements. Every job is backed by background-checked technicians, clear pricing, warrantied services, and our satisfaction guarantee. We are also available 24/7 whenever unexpected plumbing issues arise.
If your new faucet or fixture refuses to stop dripping, give us a call to schedule a technician visit.
Schedule Service
Our Services
More About Us



Get in Touch With the Top-Rated Plumber in Richmond, VA Today!
See for yourself why we're the top choice for top-notch, budget-friendly general plumbing, drain cleaning, excavation, and sewer repair services. Complete client satisfaction is what we aim for every time. Contact us today by calling us or filling out the form to schedule an appointment or request assistance.
In Business Since: 2001
State Licensing
Trade: Plumbing
License #: 2705140622
Expiration: 11-20-2022
Trade: Landscape Service Contracting
License #: 2705140622
Expiration: 11-20-2022
Trade: Highway / Heavy Contractors
License #: 2705140622
Expiration: 11-20-2022
Trade: Master Plumber
License #: 2710066245
Expiration: 02-28-2022
Trade: Class A Contractor
License #: 2705140622
Expiration: 11-20-2022